How to Perform the Kasa Camera Setup Seamlessly?

Indeed, setting up a security device helps in monitoring and delivering peace of mind to the homeowners. With the changing security landscape, various brands are offering their high-tech security cameras such as TP-Link Kasa. However, when you buy a new security device, you need to perform the Kasa Camera Setup first.
If you want assistance with the Kasa camera configuration process, we brought this guide right away to you. Additionally, this guide teaches you How To Setup Kasa Camera in different ways. So, to gain deeper insights into the complete configuration process of the Kasa camera. So, read this guide thoroughly!
Methods For the Kasa Camera Setup!
Most importantly, it is crucial to find a suitable method to perform the Kasa camera configuration. Generally, the Kasa Smart Camera Setup can be easily performed using the Kasa Smart app. So, here are the detailed steps to complete this configuration process:
Kasa Smart App Method To Setup Camera
- To begin with, confirm that your Kasa security device is properly connected to the power supply.
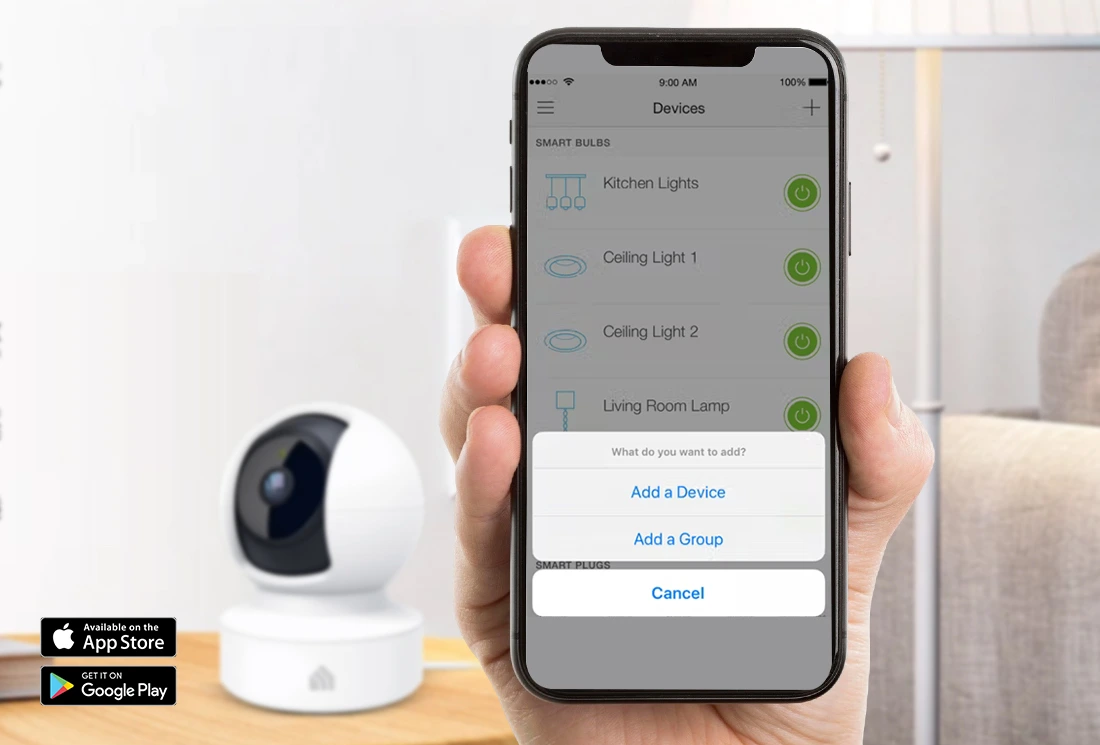
- Then, download or update the Kasa Smart app on your smartphone.
- You can get this app from the AppStore or PlayStore.
- Now, open the app and log into your account using valid admin details.
- After login, you reach the smart setup wizard of the Kasa camera.
- Hereon, tap on the “+” icon from the app dashboard.
- Then, select the “Add a Device’ option, and choose the camera model to add it to the app.
- Further, navigate to the Settings>WiFi to change the wireless settings as per your preferences.
- Next, tap on the ‘All Set’ option to finish this configuration process.
- At last, the Kasa Camera Setup finishes.
Facing Issues in the Kasa Smart Camera Setup? Here Are the Fixes!
Certainly, users face several issues when configuring their security devices. These issues may occur due to internet connectivity issues, power outages, technical glitches, wrong admin details, app issues, etc. Therefore, to eradicate these issues, you must try these proven Kasa Camera Troubleshooting tips:
- Most importantly, stabilize your internet connection first to configure your Kasa security device.
- Moreover, you can use the ethernet cables to stabilize your internet connections.
- Additionally, confirm the cable configurations and power supply and immediately replace the faulty or damaged device.
- Double-check the admin credentials when accessing the admin panel of the Kasa camera.
- Eliminate network interference and signal barriers such as mirrors, electromagnetic devices, cemented walls, heavy furniture, etc.
- If you can’t remove these things, then reposition your wifi router near your devices.
- Place your Kasa security camera near the wifi router to eradicate the network connectivity issues.
- Furthermore, find a shady and ventilated area to place your wifi router and camera to avoid the device overheating.
- Configure your Kasa security camera at the recommended 2.4 GHz network frequency band.
- In addition, use the latest version of the Kasa Smart app to access and configure your security device.
- Further, check the device compatibility with the app before downloading it and clear the app cache.
- Check the available updates on your Kasa camera and download the latest firmware file on your device.
- Additionally, do not perform any other operation or power off the device when the Tp Link Kasa Camera Updating Firmware.
- Then, power cycle your TP-Link Kasa camera for the Kasa Camera Troubleshooting and fixing the temporary issues.
- Make sure you have added the device to the app dashboard, and configured the settings properly.
- When nothing works, factory reset your Kasa smart camera. For the complete camera reset process, jump into the following section.
How To Reset Kasa Camera Manually?
When all else fails to fix the common Kasa Camera Setup issues and you are still facing the same issues, then a factory reset is the final call. Generally, factory resetting your security device brings the device to its original settings and fixes all the temporary issues. Generally, there are two ways to reset your security device. But, the manual method is the most preferred, which is explained below:
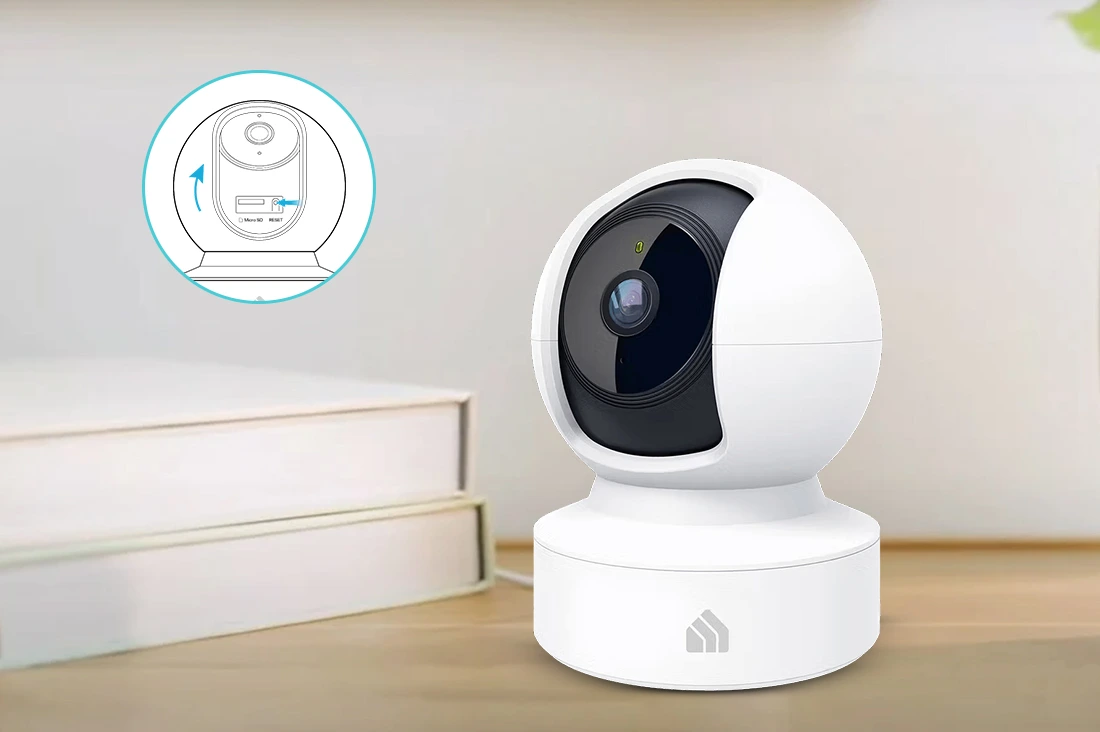
- To do so, locate the reset button on the back side of your camera.
- Then, press, and hold this button for at least 15 seconds.
- When the LED on the camera blinks amber rapidly, release the button.
- Wait for the camera to complete rebooting and revert to its factory defaults.
- Finally, the Kasa camera reset is done.
At last, this web page provided you with deeper insights into the Kasa Camera Setup process. If you still have any doubts, reach out to our professionals!
Frequently Asked Questions
Do I need a Kasa account to use my camera?
Yes, you should have a TP-Link ID to access and use the Kasa camera.
What does the solid amber LED on the Kasa camera indicate?
The indication of the solid amber LED on the Kasa security camera represents that the camera is rebooting.
How do we know that the Kasa camera is connected to the wifi network?
The indication of the flashing green LED on the Kasa camera shows that the camera is connected to the wifi network successfully.
What to do if my Kasa Smart app is not working?
If the Kasa Smart app doesn’t work properly, then check your internet connection first. Then, update the app, erase the unnecessary cache and temporary files from your device, reinstall the app, etc.